Imaging
Neutron and Synchrotron CT – Two complementary non-destructive inspection methods
Your benefits compared to lab-based analytics
Continuous improvements in material properties and production processes in industry mean that more sophisticated analytic techniques are required. Imaging methods such as computed tomography (CT) provide a three-dimensional view of the interior of objects without destroying them.
Synchrotron CT allows high transmission with light elements, and strong contrast with heavier elements. Neutron CT, on the other hand, allows strong contrast with light elements, and higher transmission with heavier elements.
This means that the two methods offer different yet complementary contrast possibilities.
Both Neutron and Synchrotron CT deliver high spatial resolution, high throughput and real-time investigations. The data obtained provide further analytical capabilities, as described below.
We are looking forward to working with you.
Imaging is used as a qualitative and quantitative measurement technology with the following analysis capabilities:
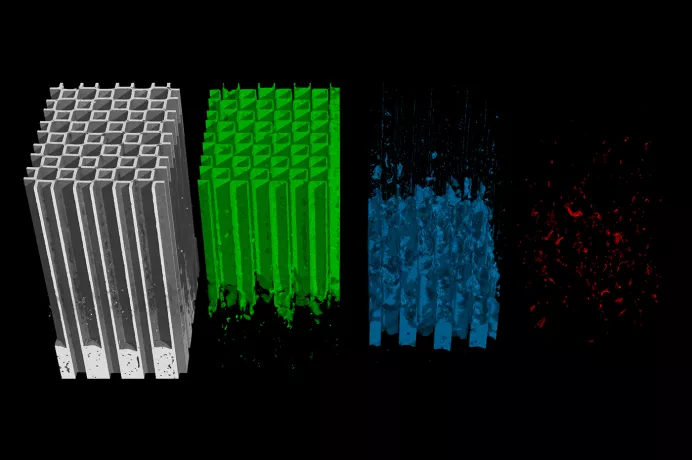

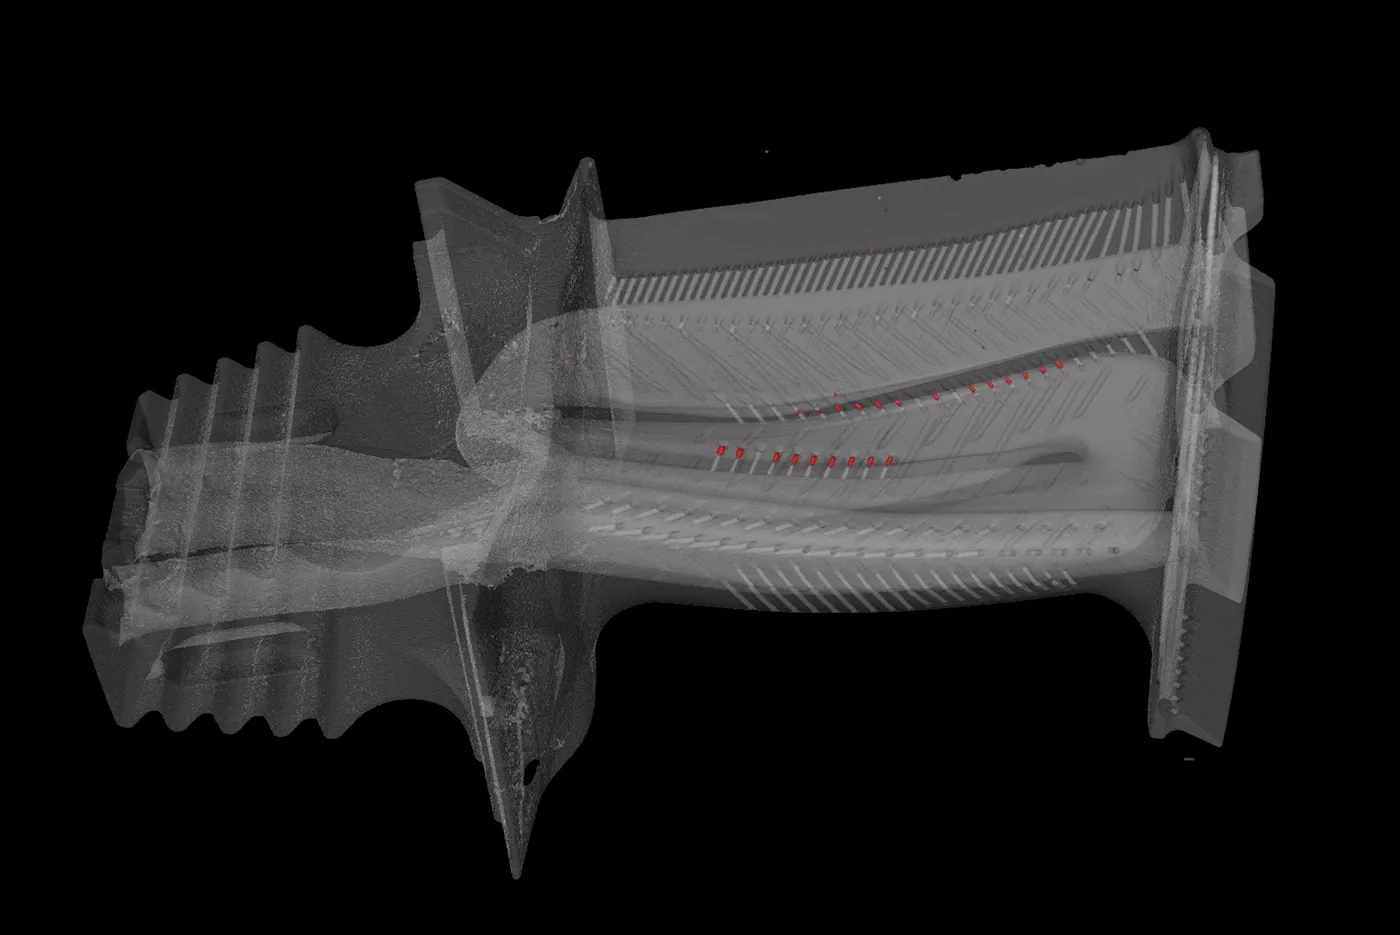
Material distribution analysis in 3D
- Visualization of the outer and inner structures and geometries of arbitrary and complex objects
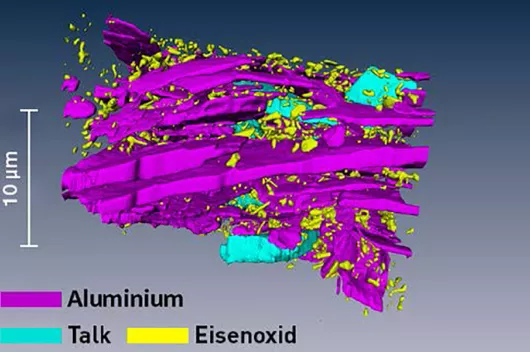
- Segmentation of the object into its individual components and materials
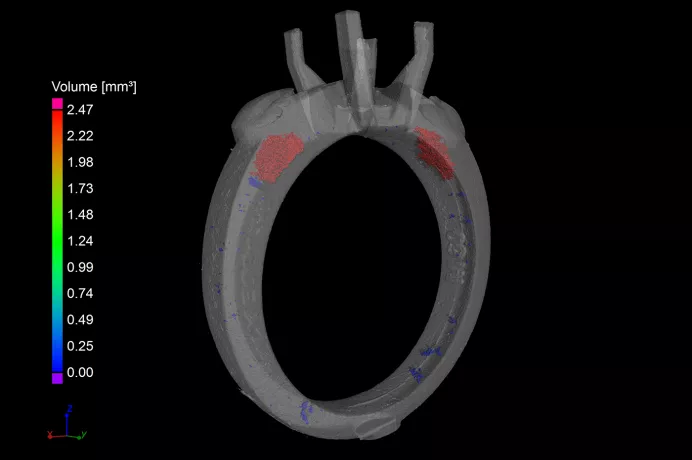
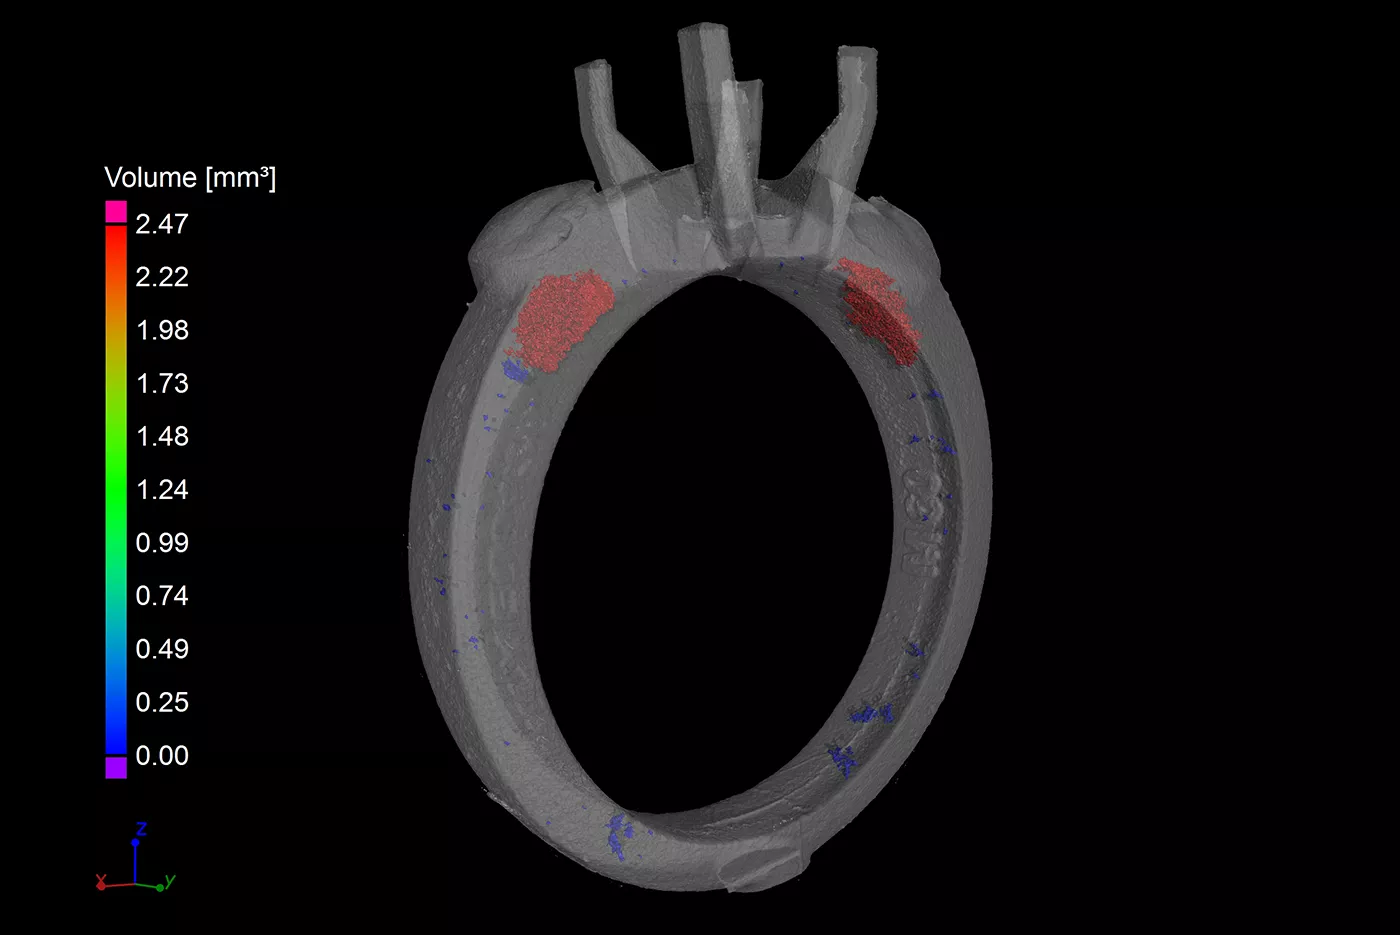
Defect and porosity analysis in 3D
- Visualization of pores, blowholes and inclusions inside arbitrary and complex objects
- Quantitative information such as size, volume, shape and associated distributions
- Determination of the total percentage of defects and porosity, and presentation of results in a histogram
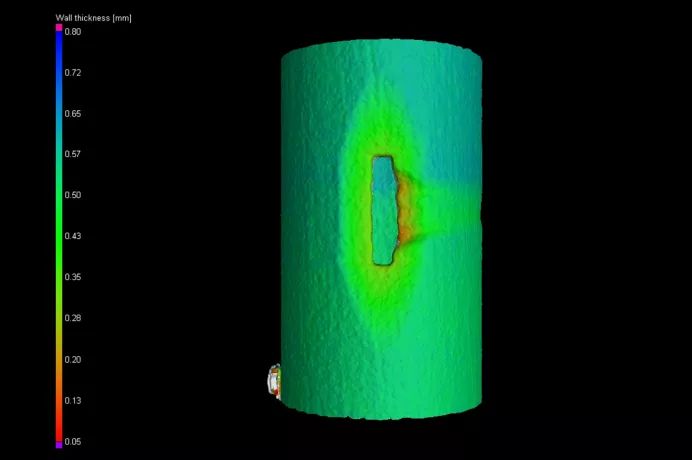
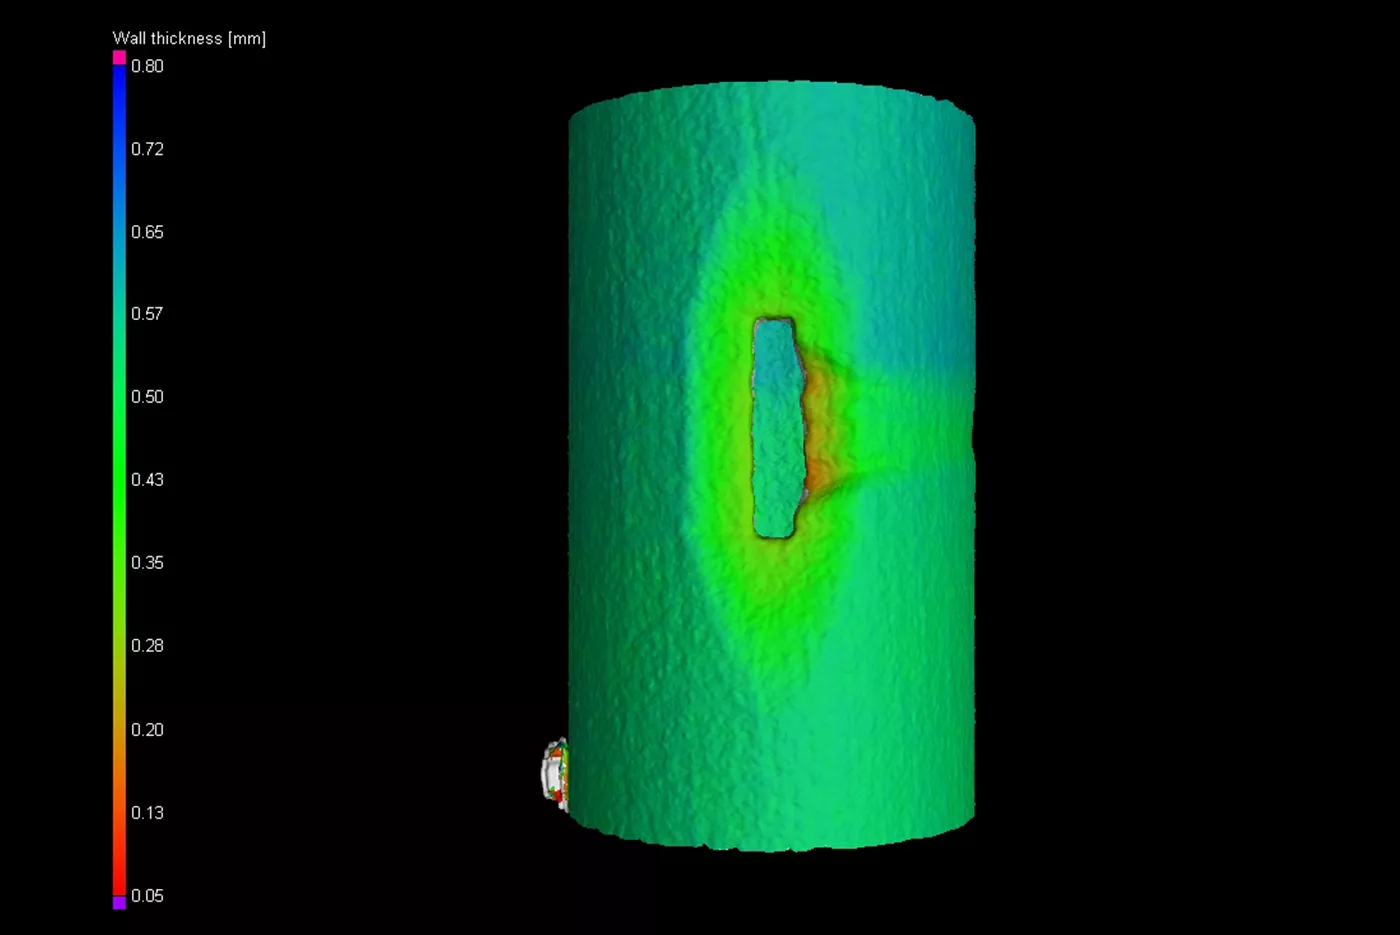
Wall thickness analysis in 3D
- Quantitative determination of the wall thicknesses of arbitrary and complex objects
- Localization of areas with insufficient or excessive wall thicknesses or gaps
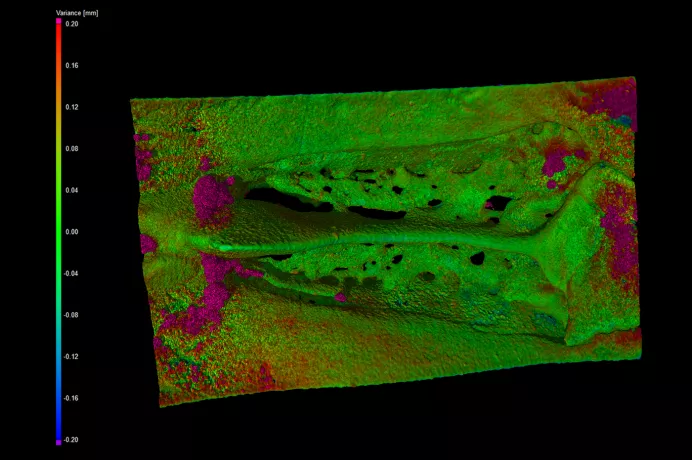
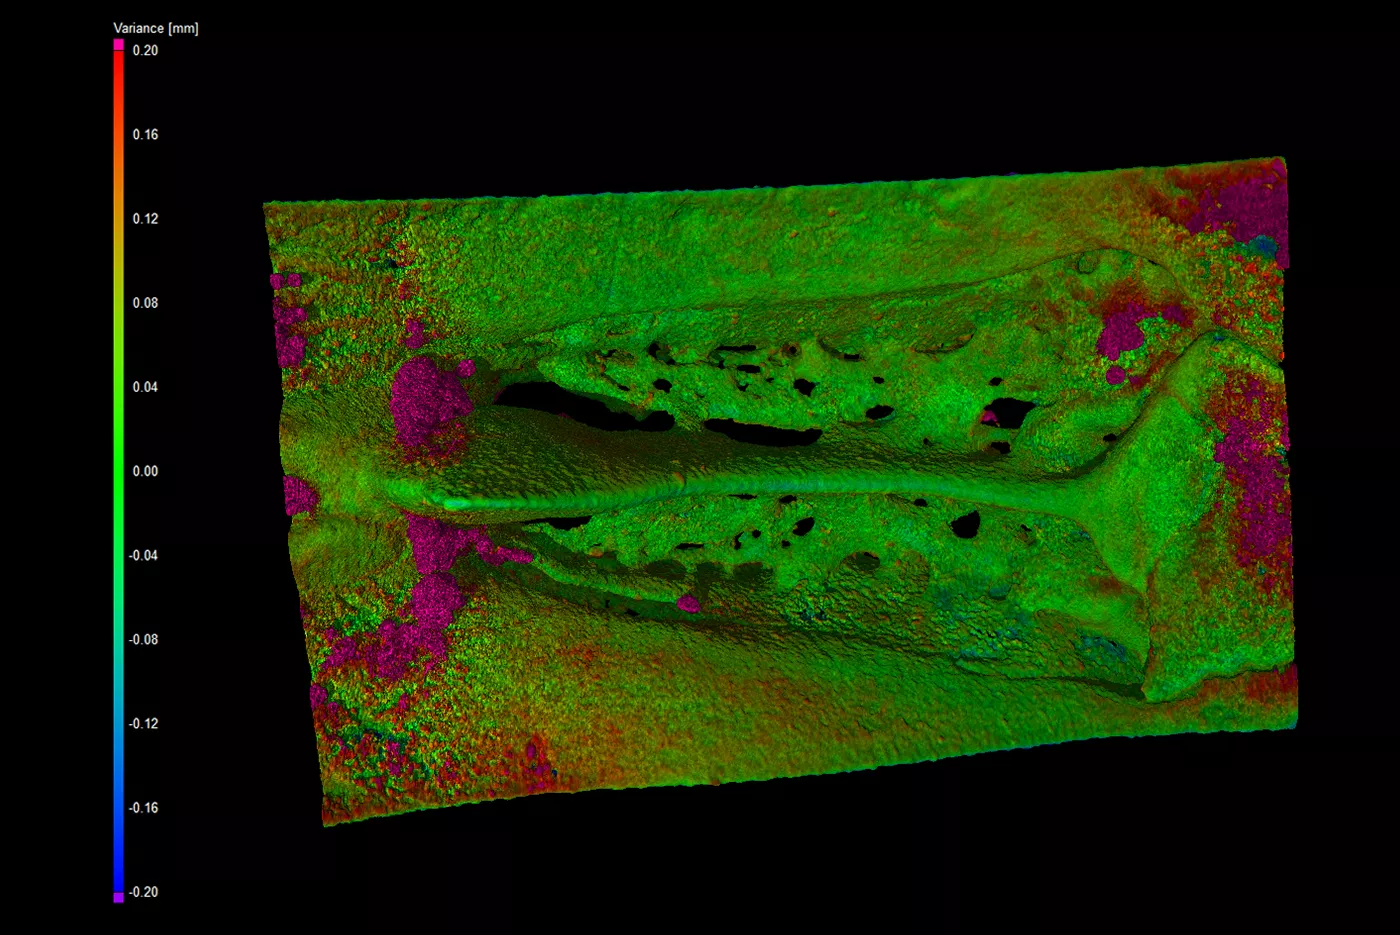
Nominal/actual comparison analysis in 3D
- Direct geometrical comparison of CT data with CAD data of arbitrary and complex objects
- Quantitative information regarding deviations in the dimensions of an object compared with its CAD drawing
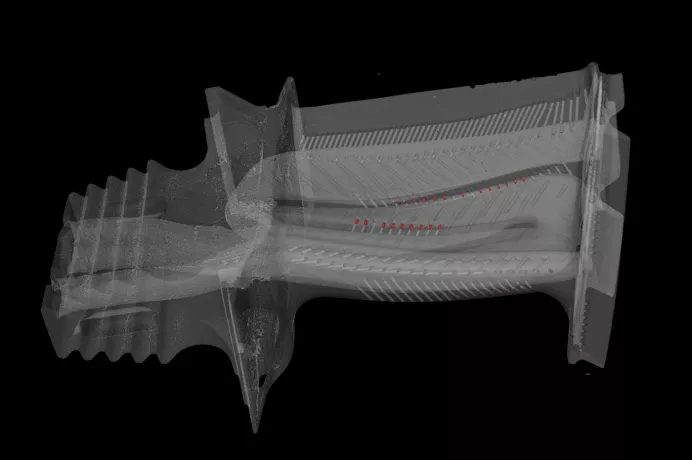
Reverse Engineering
- Physical reconstruction of arbitrary and complex objects without knowledge of design data
- Determination of external and internal object geometries
- Creation of an STL file for subsequent reverse engineering to a CAD model
We’re here to help
Industrial challenges can be highly specific. We’d be happy to discuss your individual case in detail. Schedule a meeting with us to learn how we can contribute to finding the right solution.
The complementarity of Neutron and Synchrotron CT
Selection of advantages of each technique
Neutron CT
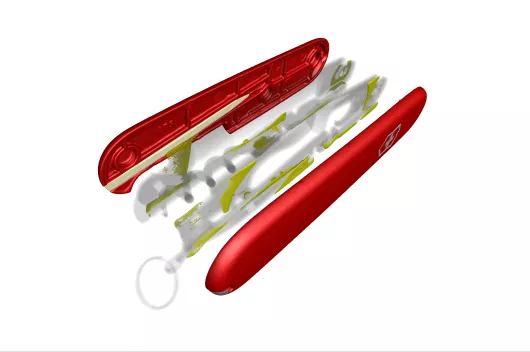
- Higher contrast for light elements (such as H, B, Li)
- Higher penetration of metallic elements (such as Ti, Cr, Fe)
- Higher contrast difference for neighbouring elements (as example Pd and Rh)
- Higher penetration of heavy elements (such as W, Au, Pb)
- See comparison of neutrons with X-rays (lab systems) of the periodic table
Synchrotron CT
- Higher penetration for light elements (such as H, B, Li)
- Higher contrast for metallic elements (such as Ti, Cr, Fe)
- Higher spatial resolution compared to neutrons and lab-based X-ray systems
- Much higher temporal resolution compared to neutrons and lab-based X-ray systems
- Much higher sample throughput compared to neutrons and lab-based X-ray systems
Technical details of Neutron and Synchrotron CT
Selection of detailed information
| Information | Neutron CT | Synchrotron CT |
|---|---|---|
| Field of view | 5x5 mm2 - 400x400 mm2 |
0.3x0.4 mm2 - 16.6x14 mm2 |
| Spatial resolution |
8 µm - 150 µm |
0.16 µm - 6.5 µm |
| Temporal resolution |
150 Hz in 2D |
20 Hz in 3D |
|
Energy range |
2.3 - 25 meV |
8 - 45 keV |
|
Wavelength |
1.8 - 6 Å |
1.5 - 0.3 Å |
|
Bandwidth |
10 % |
0.02 % |
| Flux |
~ 107 - 108 cm-2 s-1 |
~ 1014 cm-2 s-1 |
The way we work with you
Your
challenge
Competent
consulting
Applied material analytics with Neutron and Synchrotron radiation &
tailor-made infrastructure
Data analysis and interpretation
Final
report
Our specialized tools for your specific challenges
This is how we analyze your challenges – making the invisible visible: precise, reliable, and reproducible.
Open the drawers and learn more:
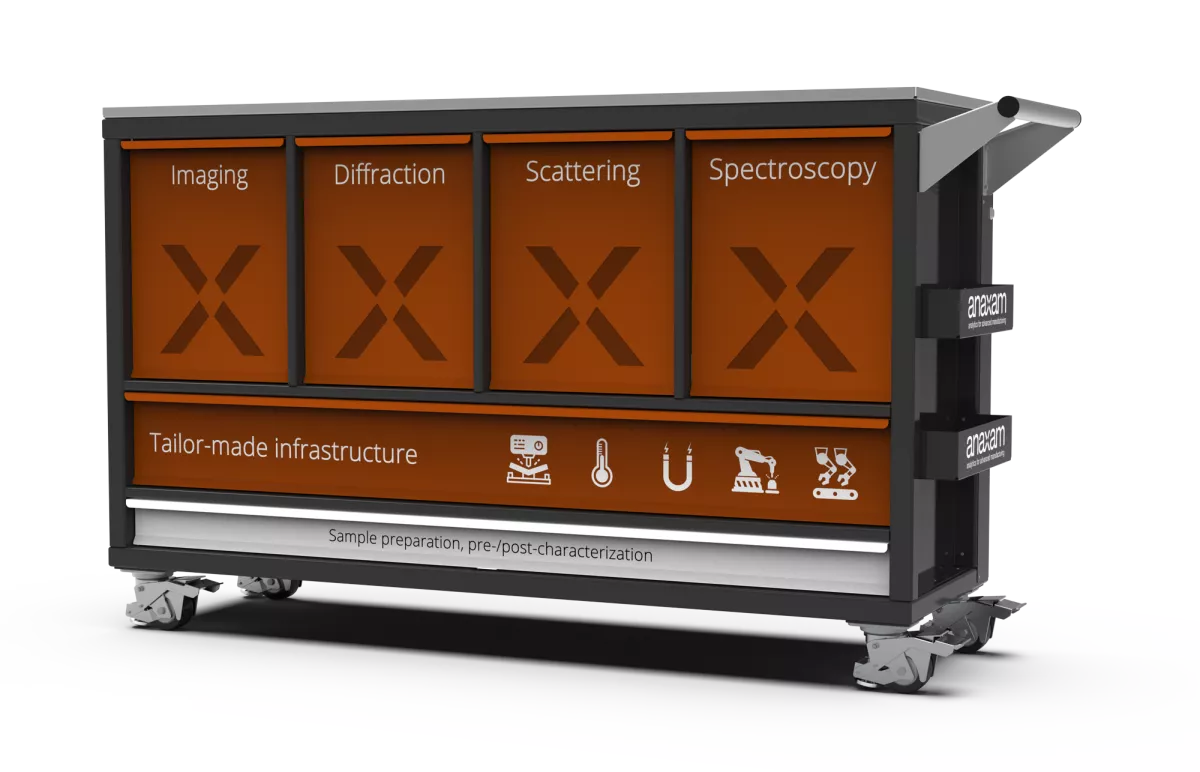
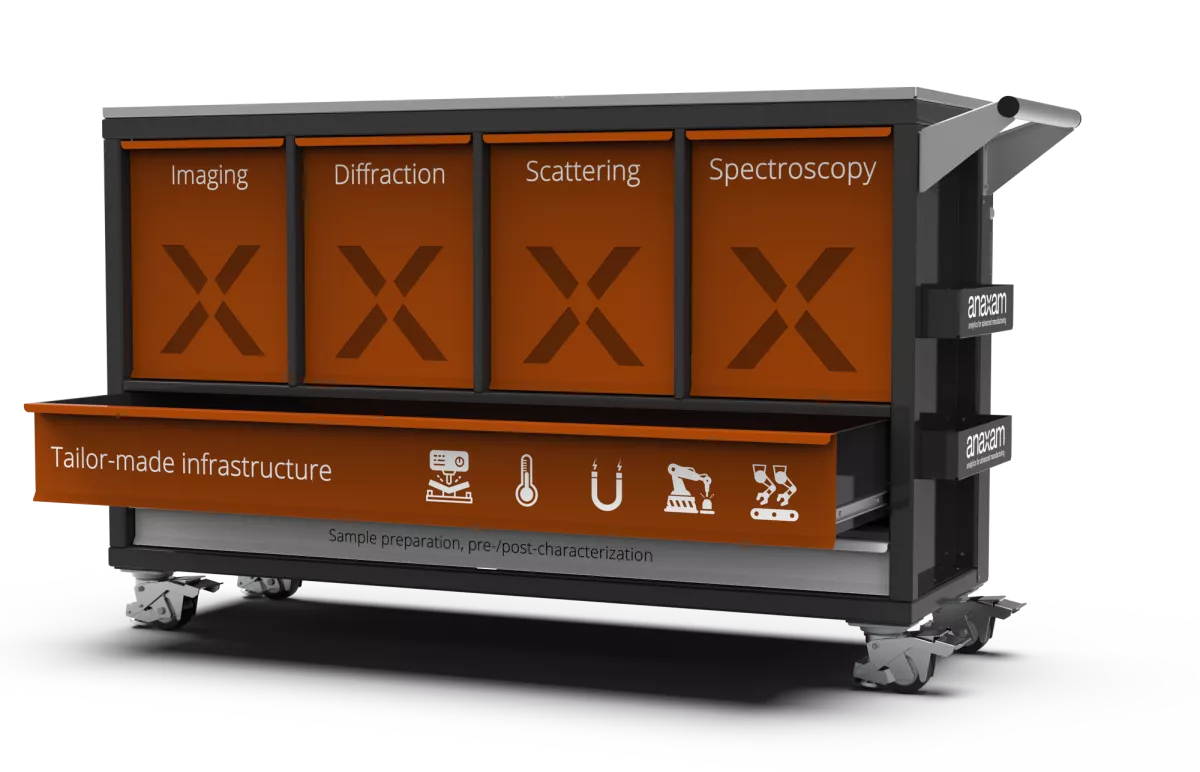
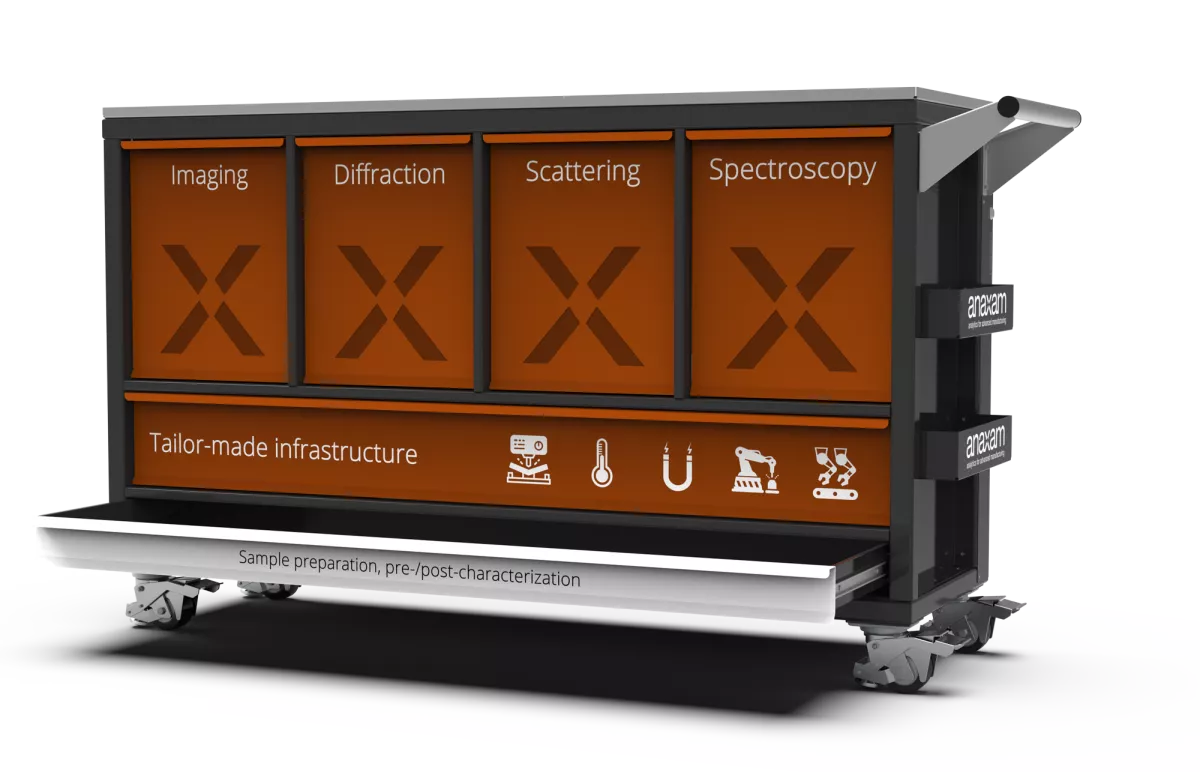
Sample preparation and pre- /post- characterization
Move your mouse over the drawers to explore our tools for applied material analytics.
Click the drawers to learn more
Tap the drawers to learn more


